Six Steps to Get Your Home Winter Ready

It is the coziest time of year—the time when we drink hot chocolate, wear warm fuzzy socks, curl up by a fire while the snow drifts softly down from the sky, and get our home winter ready.
Sure, prepping for winter might not sound as soothing as the other activities associated with the season, but if you don’t get your home winter ready, you’ll surely be sorry. The dropping temperatures, wind gusts, and icy conditions winter inevitably brings can do serious damage to your home. Make sure your winter isn’t a chilly one— or worse, one that will break the bank— with a few simple steps to get your house winter ready.
Get your Exterior Winter Ready
Of course, the outside of your home takes the brunt of what winter weather has to offer. With that in mind, it’s important to include your exterior as you make your winter-readiness plans.
Step One: Water Lines and Pipes
Unhook your hose pipes. Turn off the water to the outside of your house. If you are a new homeowner, follow these instructions to turn off outside water lines. An important part of making your home winter ready is to ensure that your water pipes don’t burst. If you have any exposed pipes, outside or inside, consider investing in pipe insulation to keep the pipes from freezing.
Step Two: Windows and Doors
Windows and doors should have a good seal on them, keeping drafts of cold air out of the house. Some windows must be locked for the seal to be complete and your home to truly be winter ready. If you do find that there are drafts after you’ve locked the windows, you can add caulking to fix the problem. Depending on the severity of the season, it might also be a good idea to swap out screens in windows and doors for storm doors. The glass adds an extra layer of insulation to your house.
Step Three: Gutters
Most homeowners who have fully grown trees on their property know an annual gutter clean is crucial. Cleaning out your gutters means there will be less chance of an ice dam when snow and rain freeze around leaves and other trash in your gutters. This can cause a great deal of damage to your home’s foundation and landscaping. Getting your home winter ready often begins as early as September.
Get Your Interior Winter Ready
Sure, the inside of your home isn’t exposed to the elements, but that doesn’t mean it’s ready for what winter can dish out. Here are some tips for getting your interior prepped for the season.
Step Four: Check the Furnace and Fireplace
The first time you have to turn on your furnace, you want to make sure it will fire up . Have your furnace checked annually by a heating and cooling company; this will ensure that any necessary maintenance is done before there is a problem when you most need a furnace to warm your home. Throughout the entire year, your furnace filter should be replaced regularly.
Homes with a wood burning fireplace must have the chimney inspected prior to the first use of the season. Even if you don’t use the fireplace often, checking for drafts and buildup is essential to home safety. If you do use your fireplace often to heat your home, stock up on wood for the season early, so you aren’t stuck toting cords of wood in the colder temperatures. There are special techniques for storing wood so that it stays dry throughout the winter. You are winter ready if you are sure you can heat your home!
Step Five: Bring on the Cozy
In order to keep heating bills down, it’s smart to add an extra blanket to all of your beds. This will allow you to turn the thermostat down at night. Get the kids (and yourself) fluffy socks to keep feet warm and keep warm blankets available in every bedroom. These are just a few tips to keep your family warm and your energy bills down.
Lighting candles will actually make your home warmer (and smelling amazing), too! You might consider switching to heavier curtains for the winter as well. It will add an extra layer of much-needed insulation around your windows. Your family will be winter ready and cozy all season long.
Step Six: Reverse All Ceiling Fans
Ceiling fans normally run in a counterclockwise pattern to create a breeze that cools the space below it. In the winter, you can reverse your ceiling fans to run clockwise . Why? Well, this will pull the air from the ceiling down to you. Warm air rises, so this will pull it back down to the room below. The fan speed should be set on low, so as to not cool the warm air down.
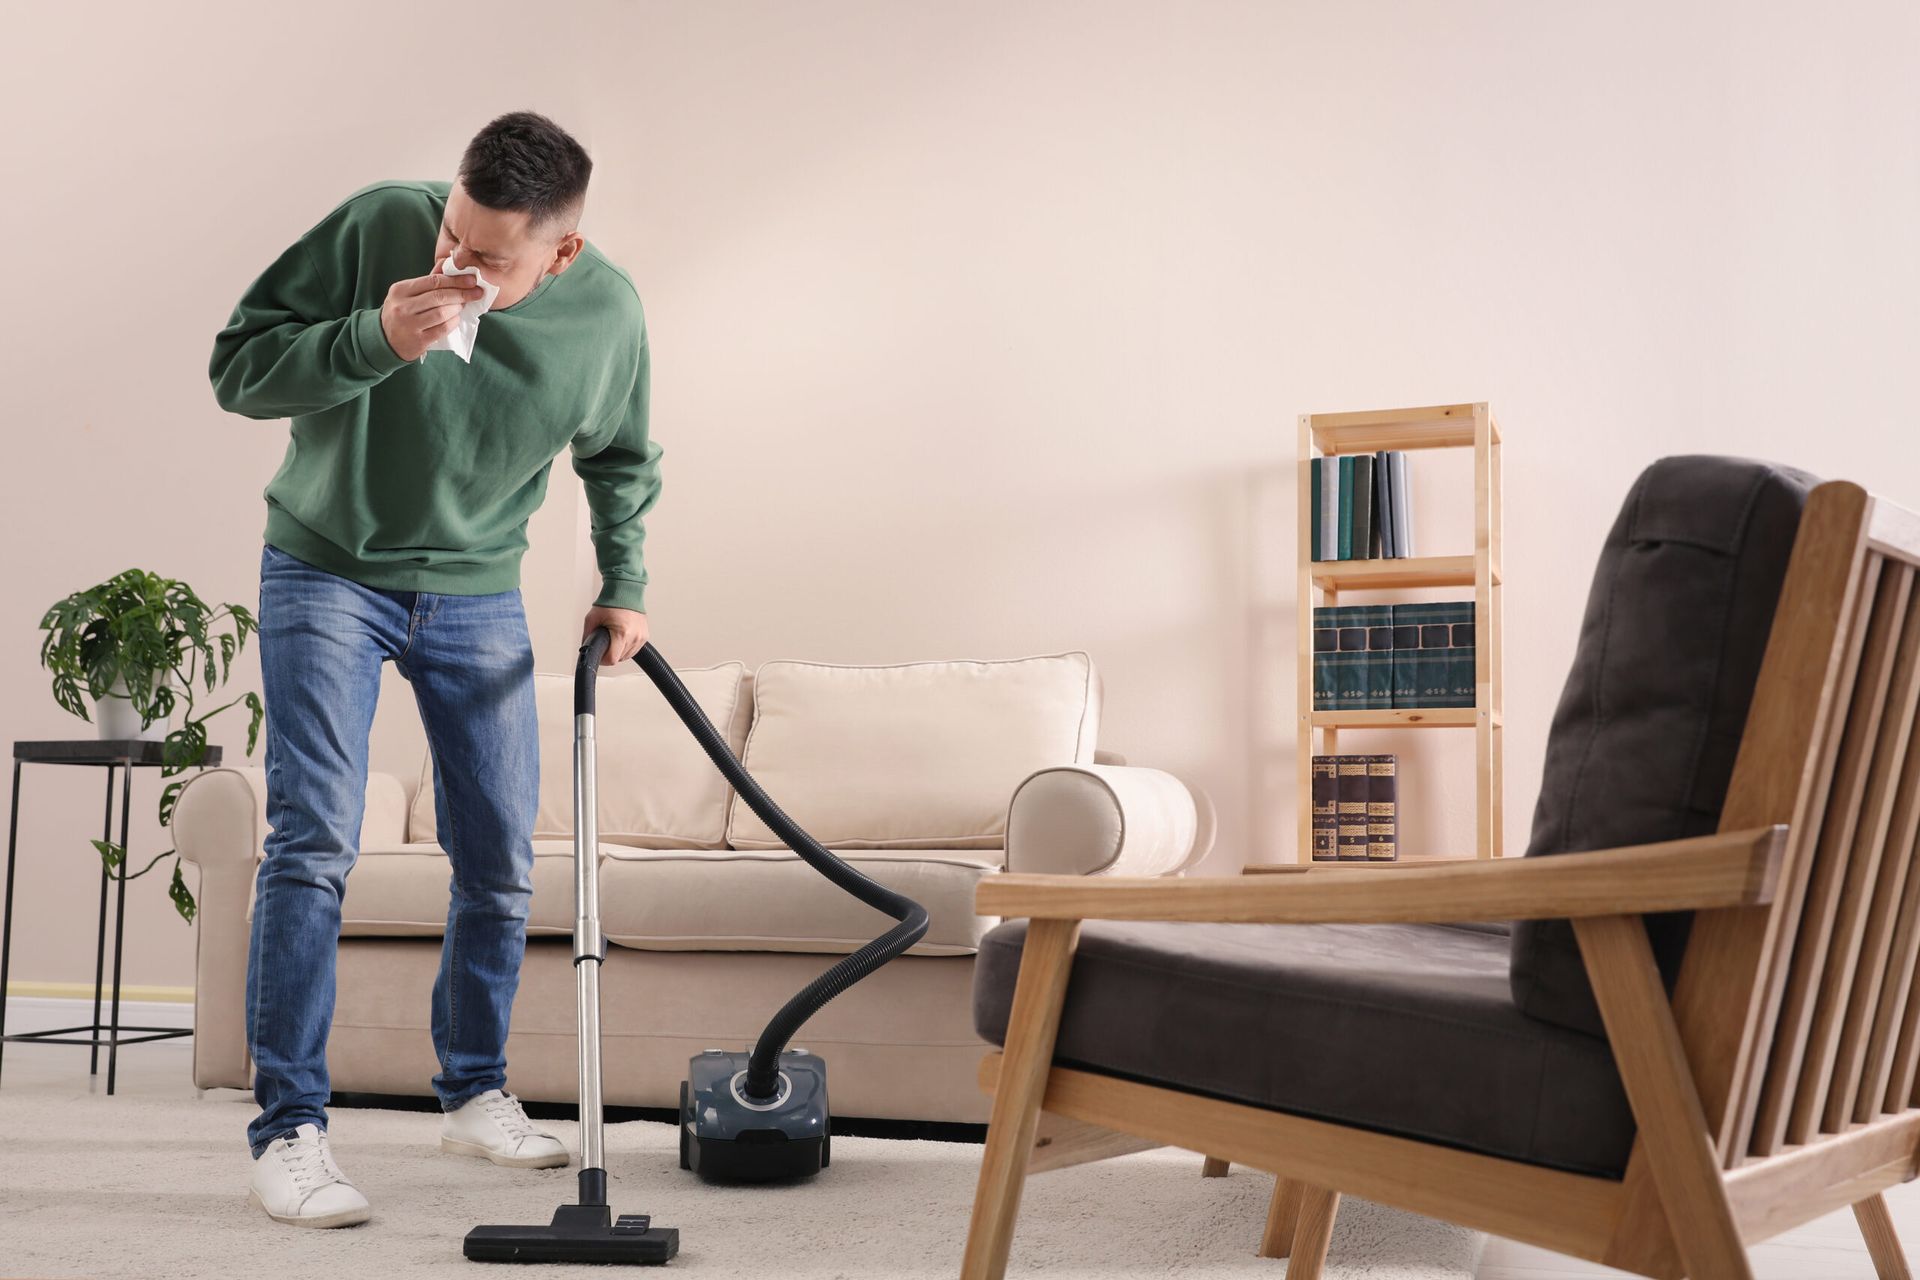
When making sure your home is winter ready, you may very well uncover some dirt. A good winter cleaning is just as important as a spring cleaning!
Cimara Cleaning Services
is eager to help you make your home winter ready. Our staff is trained and motivated to clean your home quickly and efficiently.
Give us a call today
to get your estimate for residential home cleaning.

WE’RE HERE TO HELP!
Get Your Time Back
Reliable & Affordable High-Quality
Cleaning Every Time.
Our Service Areas
BROWSE
OUR WEBSITE
CONTACT
INFORMATION
Cimara Cleaning Services
- Mon - Fri
- -
- Sat - Sun
- Closed
© Copyright 2024


